
Your home’s electrical wiring is a complex system. Understanding the state of your home’s electrical wiring is crucial for safety and preventing potential hazards.
Your home’s wiring plays a vital role in keeping everything running smoothly. Routinely checking it can avoid potential hazards, including fires and electrical malfunctions.
In this blog post, we’ll show you how to check the electrical wiring in your home. We’ll also discuss some common wiring problems you should look for and how to prevent them.
 #1- Turn Off Power
Alright, before diving into any inspection, safety comes first! It’s crucial to switch off the power to the area you’re examining. This step protects against unexpected shocks and ensures you can work in a secure environment.
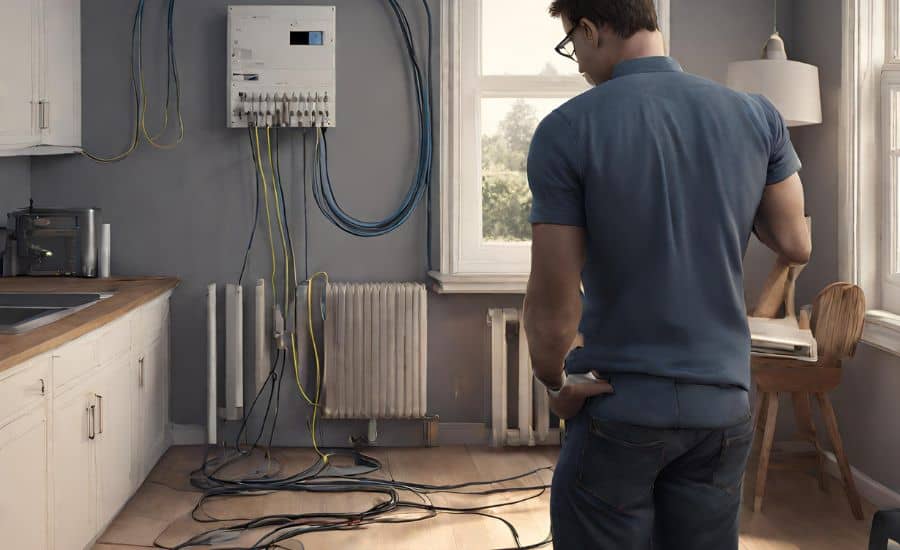
#2- Visual Inspection
It’s time for a detective’s eye! Start by visually inspecting the visible wiring, outlets, switches, and the circuit breaker panel. Look for any telltale signs of trouble, like frayed wires, burn marks, or rodent damage. These are all indicators that something might be off.
#3- Check Outlets and Switches
Let’s investigate the usual suspects – outlets and switches. Loose connections, flickering lights, or visible damage can signal Damaged wiring. These issues should be checked and resolved promptly.
#4- Use a Circuit Tester
Here comes your sidekick, the circuit tester! It’s a handy tool to make sure that your outlets and switches are getting the right voltage and are properly grounded. This little gadget helps you confirm things are running as they should.
#5- Look for Rodent Damage
Pests can be more than just a bother; they might also mess with your wiring! Check for any signs of rodent damage, as chewed wires could spell trouble.
#6- Check Circuit Breaker Panel
The control center of your electrical system, the circuit breaker panel, needs a good look. Tripping issues or any signs of distress could indicate problems within the electrical system.
#7- Ground Fault Circuit Interrupters (GFCIs) and AFCIs
These superheroes protect us from electrical dangers. Ensure your Ground Fault Circuit Interrupters (GFCIs) and Arc Fault Circuit Interrupters (AFCIs) do their jobs. Test them to ensure they’re working as intended.
#8- Check Extension Cords and Power Strips
These guys are hard workers but can sometimes bear the brunt of wear and tear. Inspect them for any signs of damage; frayed cords or exposed wires can be risky.
#9- Examine Outdoor Wiring
Outdoor wiring faces the elements, so make sure they’re weatherproof and free from damage. Exposure can lead to electrical hazards.
#10- Consult a Professional
If things seem fishy or you need clarification on the condition of the wiring, it’s wise to reach out to an electrician or electrical contractor. They’re the experts and can guide you in the right direction.
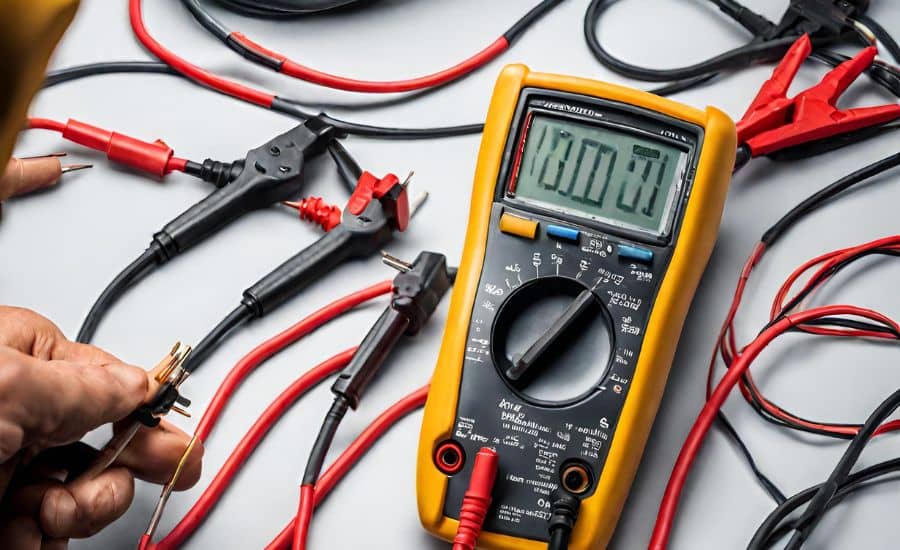
Using a multimeter is like having X-ray vision for your home’s electrical system. Please set it to the right voltage range and test your wiring. But here’s the crucial bit: ensure you’ve turned off the power before probing the wires to avoid shocks. The multimeter helps you see if the electrical flow is smooth and safe.

Prevention is better than cure. Here are a few tips to keep your wiring in tip-top shape:
- Check all electrical outlets and switches for any signs of damage or wear.
- Inspect all electrical cords for any visible damage.
- Ensure that all cables are correctly plugged into outlets.
- Test ground fault circuit interrupters (GFCIs) and arc fault circuit interrupters (AFCIs).
- Inspect light fixtures and ceiling fans for any indications of damage.
- Confirm that light bulbs match the recommended wattage for each fixture.
- Test and ensure the functionality of smoke detectors and carbon monoxide detectors.
- Examine electrical panels for any signs of damage or issues.
- Verify that circuit breakers are accurately labeled.
- Avoid overloading circuits by connecting multiple appliances or electronics simultaneously.
- Avoid using extension cords or power strips to operate large appliances.
- Keep electrical devices away from water sources.
- Do not interfere with Power wiring or fixtures.
- If you detect the smell of burning wires or see sparks, immediately turn off the power to the affected circuit.
- Schedule a qualified electrician to inspect your electrical wiring every three to five years.